BLOGS
Flutter Push Notifications: iOS, Android, Web (Part 1: Android)
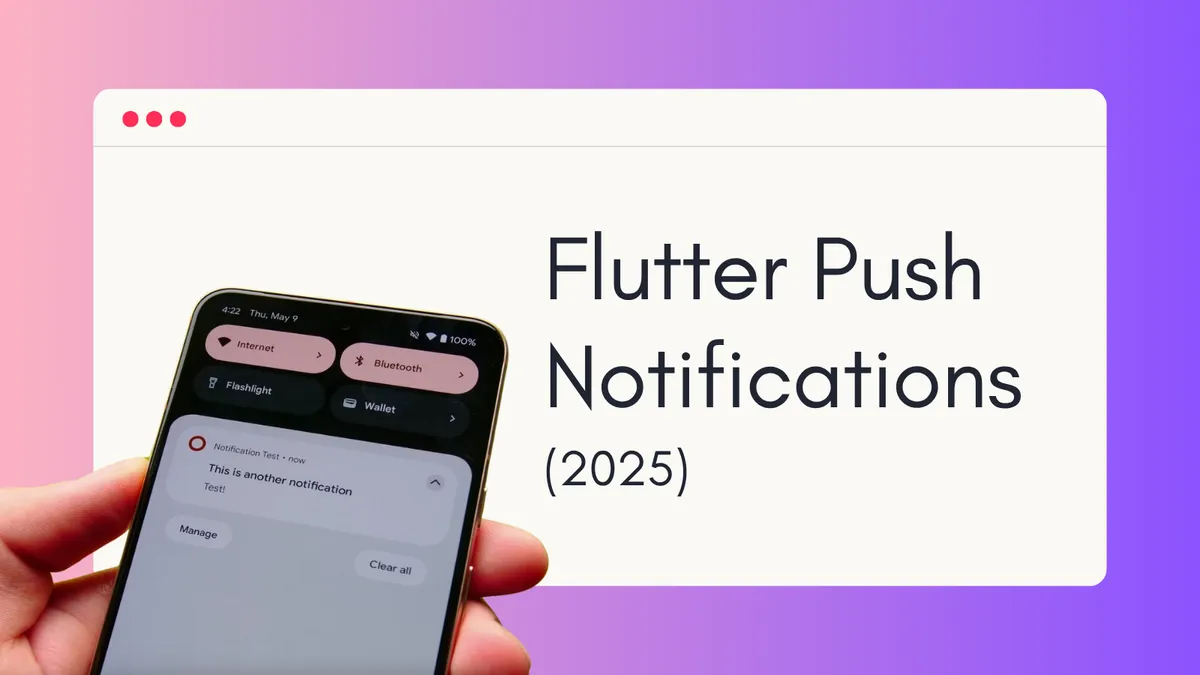
Learn how to implement push notifications in your Flutter Android app using NotificationAPI and Firebase Cloud Messaging. Step-by-step tutorial with code examples.
Important Links:
- GitHub for this tutorial
- A more complex example
- NotificationAPI Flutter SDK
- NotificationAPI Flutter SDK Documentation
YouTube Walkthrough
In this comprehensive tutorial (Part 1 of our Flutter Push Notifications series), you’ll learn how to implement push notifications in your Flutter Android application using NotificationAPI and Firebase Cloud Messaging (FCM). We’re focusing specifically on Android in this tutorial to keep things simple and manageable - our iOS-specific tutorial is coming soon!
Why Push Notifications Are Complex (And How We’ll Simplify Them)
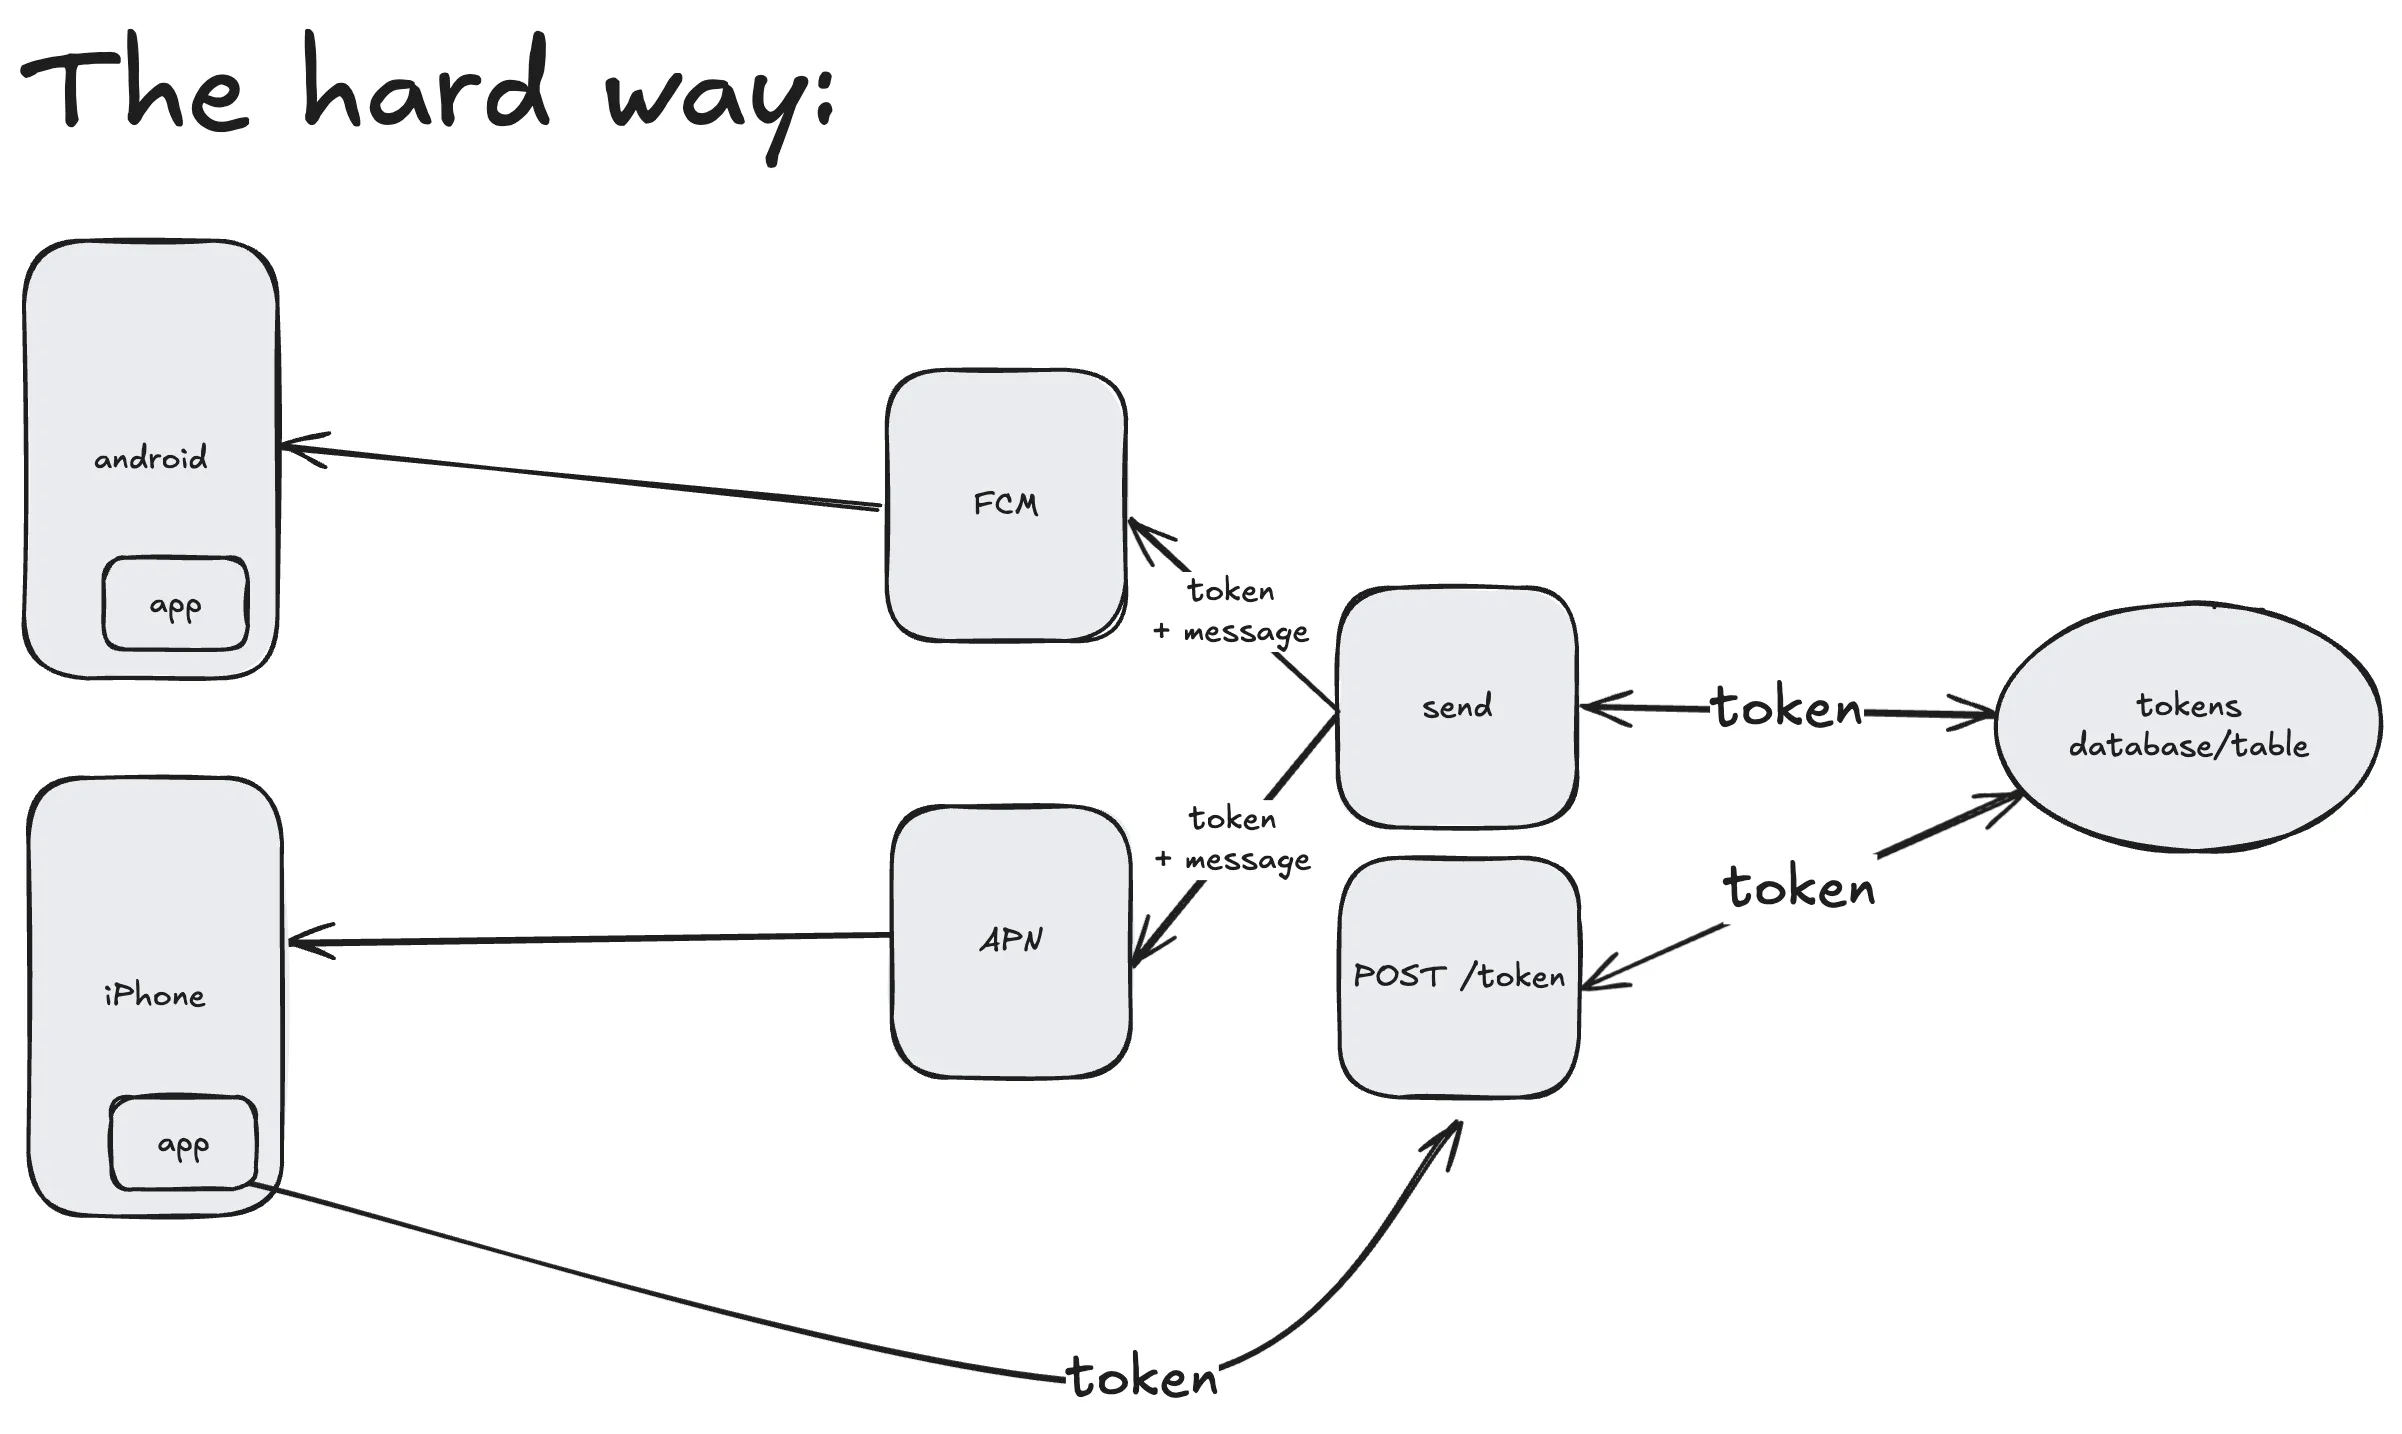
Push notifications are notoriously difficult to implement. Here’s why:
- Monopoly Control: Only Google (FCM) can send notifications to Android devices, and only Apple (APN) can send to iOS devices
- Complex Token Management: Each device generates a unique push token that must be stored and managed on your servers
- Multi-step Process: Requesting permissions → generating tokens → storing tokens → retrieving tokens → sending notifications
This typically requires building a complete backend infrastructure just to send a “Hello World” notification. But we have a much simpler approach.
Why Use NotificationAPI for Flutter Push Notifications?

NotificationAPI transforms the complex 5-6 step process into just 3 simple steps:
- Set up FCM (Firebase Cloud Messaging)
- Connect NotificationAPI to FCM (done through our dashboard in a few clicks)
- Install our SDK and start sending notifications by user ID
All the complex token management, storage, and synchronization happens automatically under the hood.
Step 1: Firebase Project
First, create a new Firebase project (or use an existing one):
- Go to Firebase Console
- Create a new project:
Flutter Notifications Demo - Navigate to Project Settings → General tab
- Add an Android app with your package name (e.g.,
com.example.flutter_notifications_demo)
Download Google Services Configuration
- In Firebase Console, register your Android application
- Download the
google-services.jsonfile - Place it in your Flutter project’s
android/app/directory
Generate Service Account Key
- In Firebase Console, go to Project Settings → Service Accounts
- Click Generate new private key
- Important: Keep this file secure - never commit it to version control
- Save the JSON file - you’ll need it for NotificationAPI integration
Step 2: NotificationAPI Account
- Sign up at NotificationAPI (no credit card required)
- Create a new notification: “Hello World Notification”
- Select Mobile Push as the notification type
- Go to Mobile Integration → Android FCM
- Upload your Firebase service account JSON file from Step 1
Your Firebase and NotificationAPI are now connected!
Step 3: Integration with Code
A: Configure Google Services
Note: If you already have Firebase set up in your Flutter project, you may have already completed these configuration steps. Feel free to skip to the SDK installation below if Firebase is already working in your app.
You’ll need to modify a few configuration files to integrate Firebase with your Flutter project.
Note: These steps may differ depending on your Flutter setup, but as of June 2025, here’s the current configuration:
android/settings.gradle.kts:
plugins {
    // ... other plugins
    id("com.google.gms.google-services") version "4.4.2" apply false
}android/app/build.gradle.kts:
plugins {
    // ... other plugins
    id("com.google.gms.google-services")
}

android {
    // ... other options
    ndkVersion = "27.0.12077973"

    compileOptions {
        // ... other options
        isCoreLibraryDesugaringEnabled = true
    }

    // ... rest of configuration
}

dependencies {
    coreLibraryDesugaring("com.android.tools:desugar_jdk_libs:2.0.4")
}
Build and Verify Firebase Integration:
Test your Firebase integration:
flutter build apkIf you encounter build errors, there are generally great recommendations in the error message itself that recommend the correct steps to take.
B: Install and Use NotificationAPI Flutter SDK
Add the NotificationAPI Flutter SDK to your project:
flutter pub add notificationapi_flutter_sdkImport and initialize the NotificationAPI SDK in your main Dart file:
import 'package:notificationapi_flutter_sdk/notificationapi_flutter_sdk.dart';

class _MyAppState extends State<MyApp> {
  @override
  void initState() {
    super.initState();
    NotificationAPI.setup(
      clientId: 'YOUR_CLIENT_ID',
      userId: 'user_a', // Replace with your user's unique identifier
    );
  }

  // ... rest of your app
}
Important Configuration Notes:
- Client ID: Found in your NotificationAPI dashboard under Environments
- User ID: Use your app’s unique user identifier (email, username, database ID, etc.)
- Timing: Call
setup()after user login/registration for better UX
Finally, Send Your First Push Notification
From the NotificationAPI dashboard and docs, you can see multiple code samples for triggering the notification. Here’s a sample cURL command:
curl -X POST \
  -H "Content-Type: application/json" \
  -H "Authorization: Basic $(echo -n "YOUR_CLIENT_ID:YOUR_CLIENT_SECRET" | base64)" \
  -d '{
    "type": "hello_world_notification",
    "to": {
      "id": "user_a"
    },
    "mobile_push": {
      "title": "Hello from Flutter!",
      "message": "Your first push notification is working!"
    }
  }' \
  "https://api.notificationapi.com/YOUR_CLIENT_ID/sender"
Security Best Practices
- Server-Side Only: Never put your NotificationAPI credentials or Firebase service account keys in your Flutter app code or other client-side code. And never commit/push these private information to your repo.
- Token Management: Let NotificationAPI handle token refreshing and management automatically
Next Steps: iOS and Web Support
This tutorial focused on Android to keep things simple, but the process is very similar for iOS. Mainly it’s the APN setup that’s different from the FCM/Firebase setup and it happens in the Apple Developer Portal.
We are working on a tutorial for iOS and web and will update this post when it’s ready.
Further Reading
Feedback and Support
Questions or feedback? Reach out at support@notificationapi.com or the website chat widget.